If you know what RAW is and understand how to use it, you can probably skip this tip. If you don't (which seems to be a lot of photographers, including some professionals), you might want to give it a read.
RAW is an image format, just like JPG or PNG. The difference is, a RAW file contains all the data from the camera sensor instead of a processed version. Essentially, a RAW file is a digital camera negative. Each camera maker (and sometimes each camera model) uses their own RAW file format, but most popular software can process the files from most popular cameras (Canon, Nikon, Sony, etc).
WHY use RAW? To get the most data from your images. Humans can only distinguish about 8 bits (256 shades) of light intensity per RGB component. Monitors only show about 6-8 bits. But digital cameras collect 12-14 bits per pixel. The result is a file that contains more data which you can't see (and is 3-4 times larger). Why is that useful? That invisible data lets you bring own shadow or highlight details. It also lets you recover information if you make an exposure mistake.
HOW to use RAW? While Photoshop, Picasa 2, and Paint Shop Pro XI (among others) have RAW support built in, you are often better off using a stand-alone
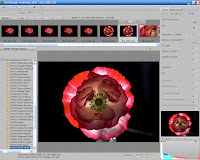
 utility. There are many utilities out there, and many cost a pretty penny. But, RawShooter Essentials 2006 is completely free, very powerful, and very fast and easy to use once you get used to it.
Although Pixmantec was acquired by Corel (and RSE is no longer supported), RSE can still be found on the web at places like download.com. It will bug you when you start it about trying to reach a server, but it works fine once you click through the initial window.
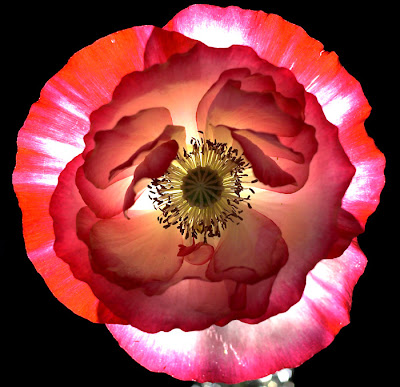
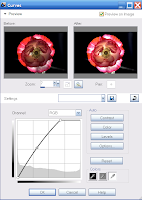
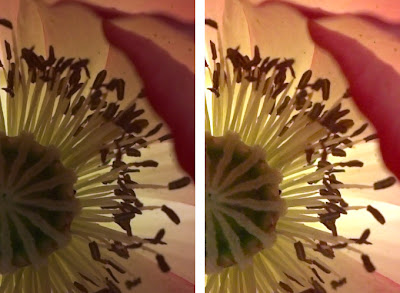
 WHAT does RAW let you do? Well, take the backlit flower at the start of this article. To set this up, I placed my trusty desk lamp behind the flower and shot into it, but because I didn't want to blow the highlights the center ended up being too dark. So, since I took the shots in RAW, I exported from RSE to a 16-bit TIFF, loaded it in PSP XI, and used Curves to bring out the details in the center (PSP XI allows you to use Curves in 16-bit depth). At right you can see the Curves screen, and see just how much I adjusted the exposure and boosted the shadows.
Before and after results from the flower center are below. I don't usually bother with RAW unless I'm shooting for a contest or for future printing; in other words, only when I'm going beyond a simple snapshot and I might need to do some heavy adjustment later.
RAW is just one more tool you should know how to use.
